Client Setup
Creating clients in Alev-B is the first step to cleanly structuring your assessments and projects. A complete client profile enables more precise benchmark comparisons, more meaningful AI recommendations, and professional white-label PDFs with the client logo. This guide shows you how to set up clients correctly in just a few minutes.
Why create clients?
The platform can only correctly contextualize benchmark data when the client's industry and company size are known. An IT company with 50 employees has different maturity expectations than a bank with 5,000 employees — without this mapping, benchmark comparisons are not very meaningful. Additionally, all assessments and projects are automatically linked to the client, which greatly improves your overview.
Prerequisites
- Active Alev-B account (Free or higher)
- Client name and industry known
- Optional: client logo as PNG or JPG
Step by Step
Open the Clients section
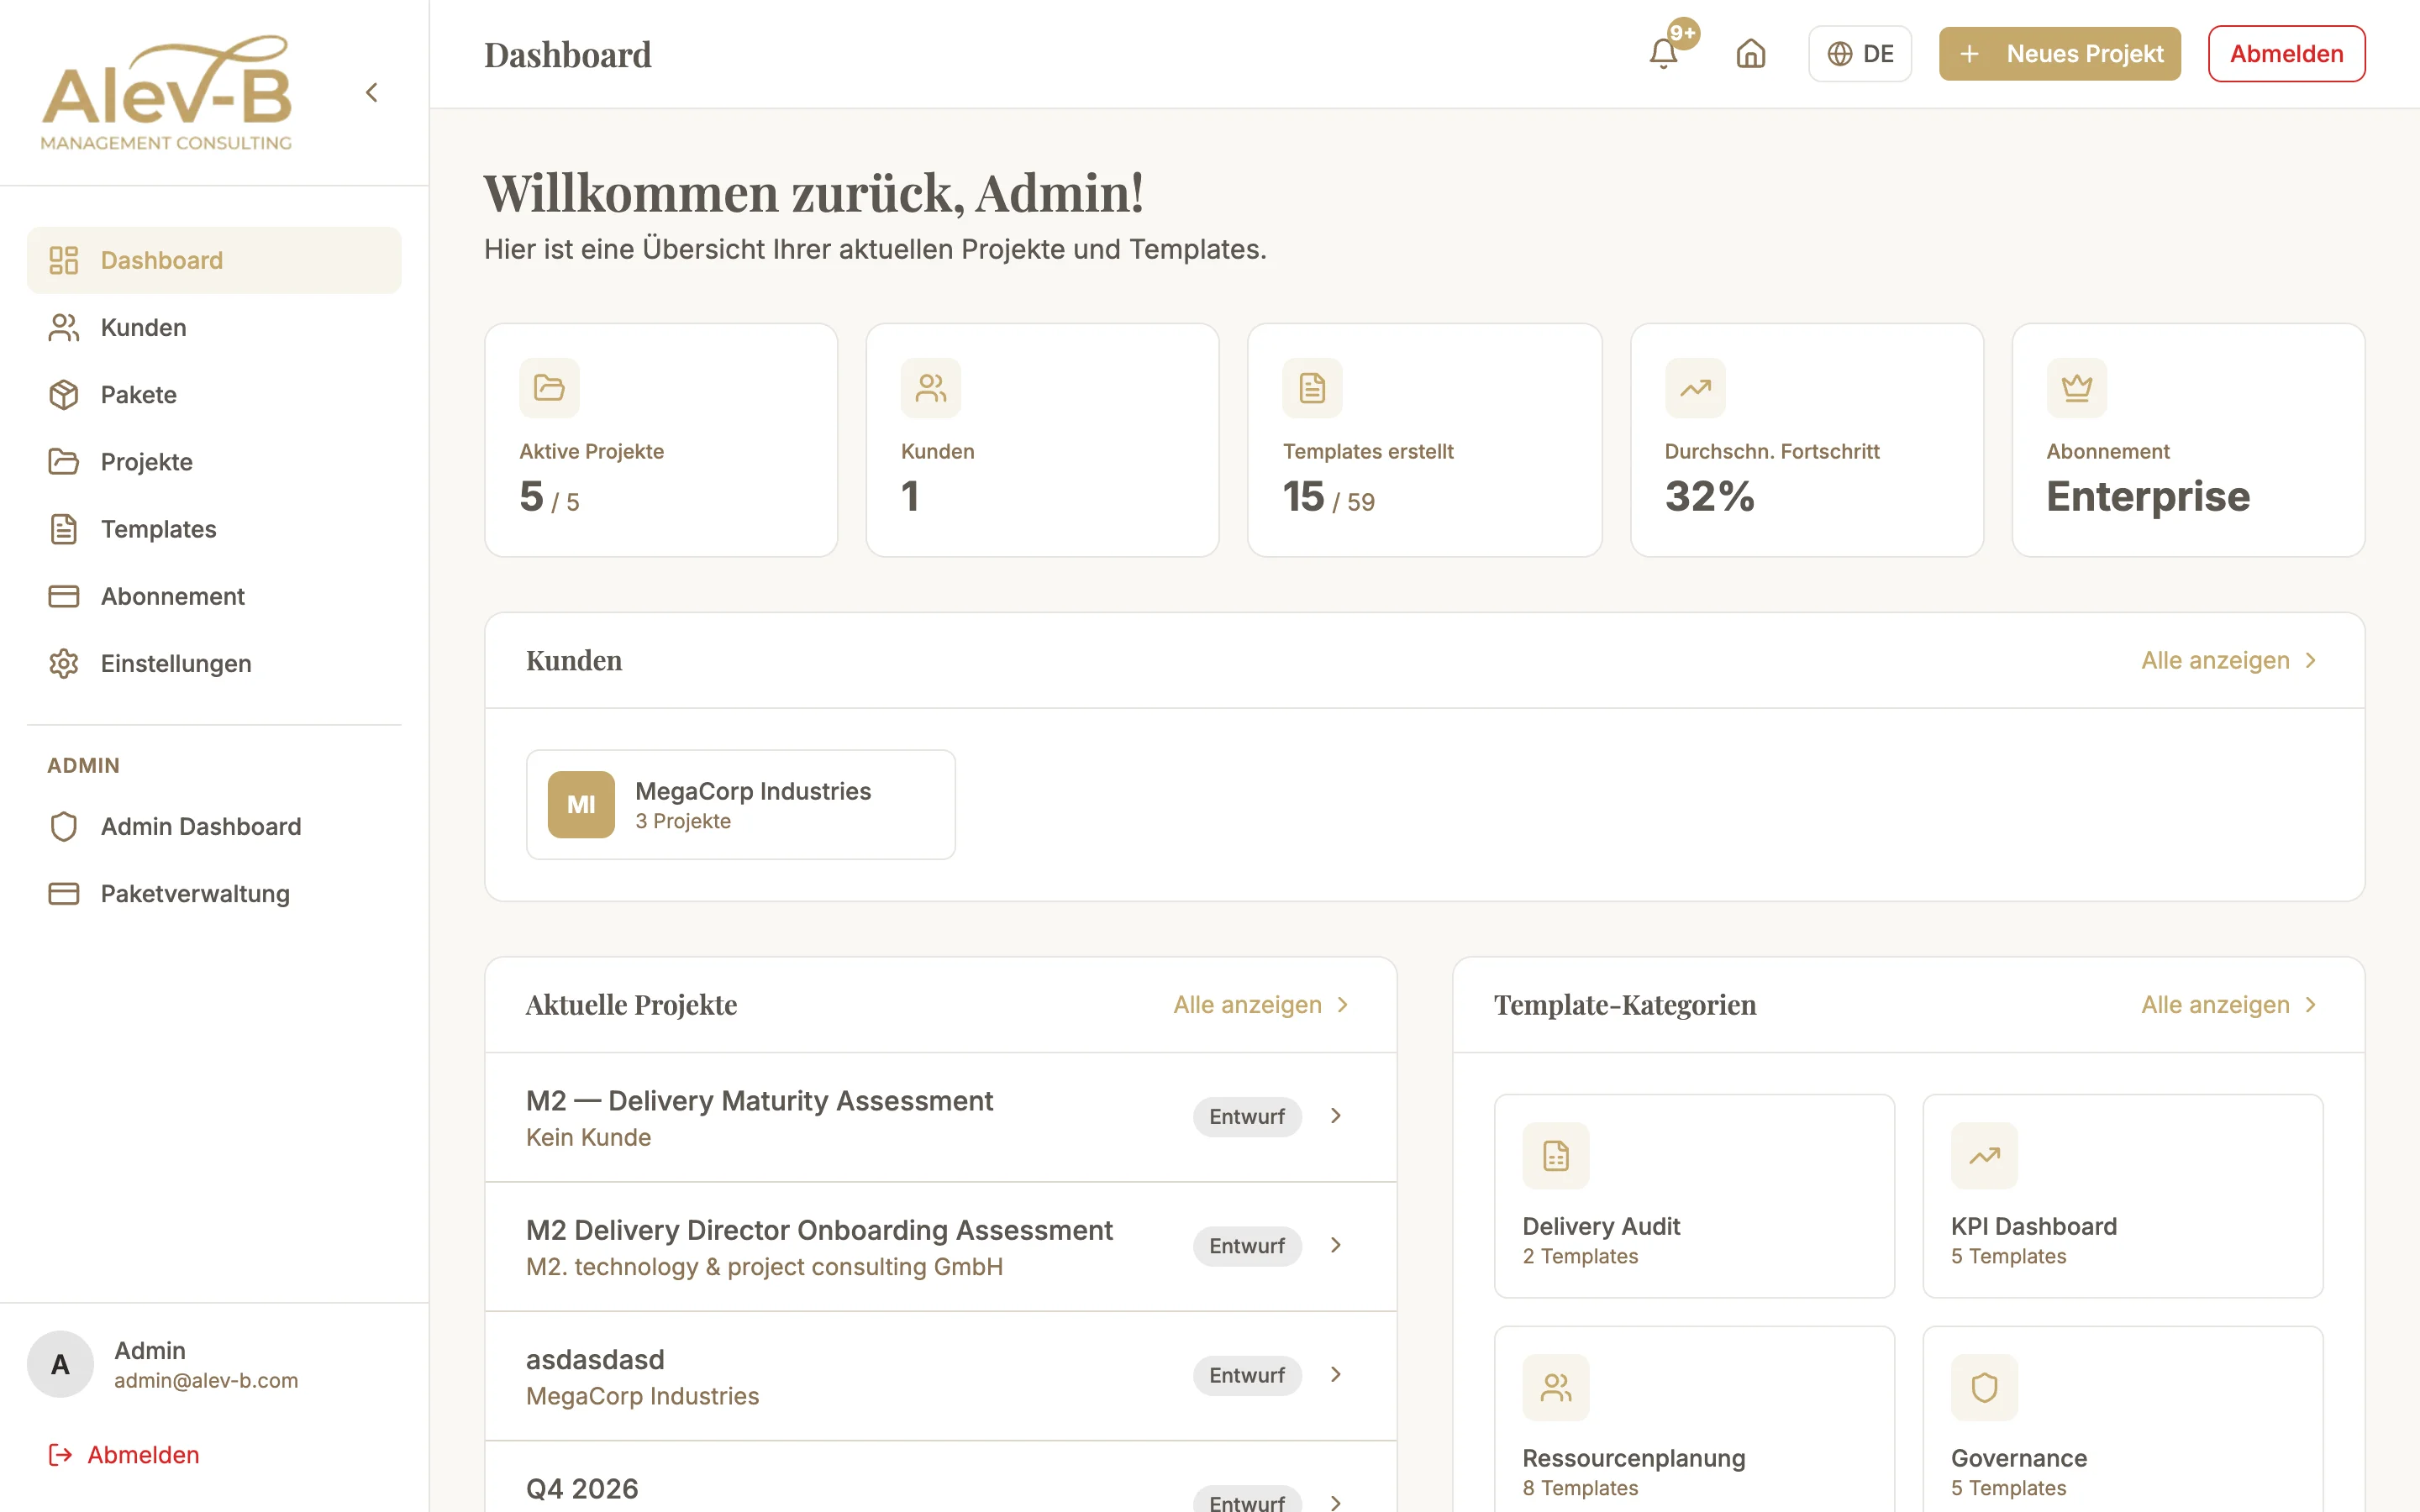
Click "Clients" in the left sidebar. You see a list of all existing clients. Click "New Client" in the top right to open the creation form.
Enter name and contact details
Enter the official company name of the client. The name appears in projects, assessments, and PDF exports. Optionally, add contact details for your main contact (name, email, phone) — these are only visible to you and simplify internal organization.
Select industry
Select the client's industry from the required dropdown. Available industries include: IT & Software, Financial Services, Retail & E-Commerce, Healthcare, Manufacturing & Industry, Public Sector, and others.
The industry assignment determines which benchmark datasets are used for comparisons. An incorrect or missing value leads to benchmarks being based on the wrong dataset.
Select company size
Select the company size from the required dropdown. Size classes are based on employee count: Small (1–50), Medium (51–500), Large (501–5,000), and Enterprise (5,000+). Like industry, size is a key criterion for benchmark segmentation.
Upload logo (optional)
If you want to export white-label PDFs with the client's logo, upload the logo here. Click the upload field and select an image file.
Common Issues
"Please update client profile" — notice appears in the assessment
This notice appears when industry or company size is not filled in. Open Clients → select the client → Edit and fill in the missing required fields.
Logo is not displayed or appears distorted in the PDF
Make sure the image meets the recommended dimensions (min. 200×200px, square). Very wide or very tall logos are scaled during PDF rendering and may appear distorted. Upload a square version.
Wrong client name was saved
Open the client list, click the client, and select "Edit". All fields — including name — can be changed at any time. Existing assessments and projects automatically display the updated name.
Next Steps
After creating your first client, you can create a project and manage assessments in a bundled way. Read the guide "Create & Manage Projects" for this.