Create & Manage Projects
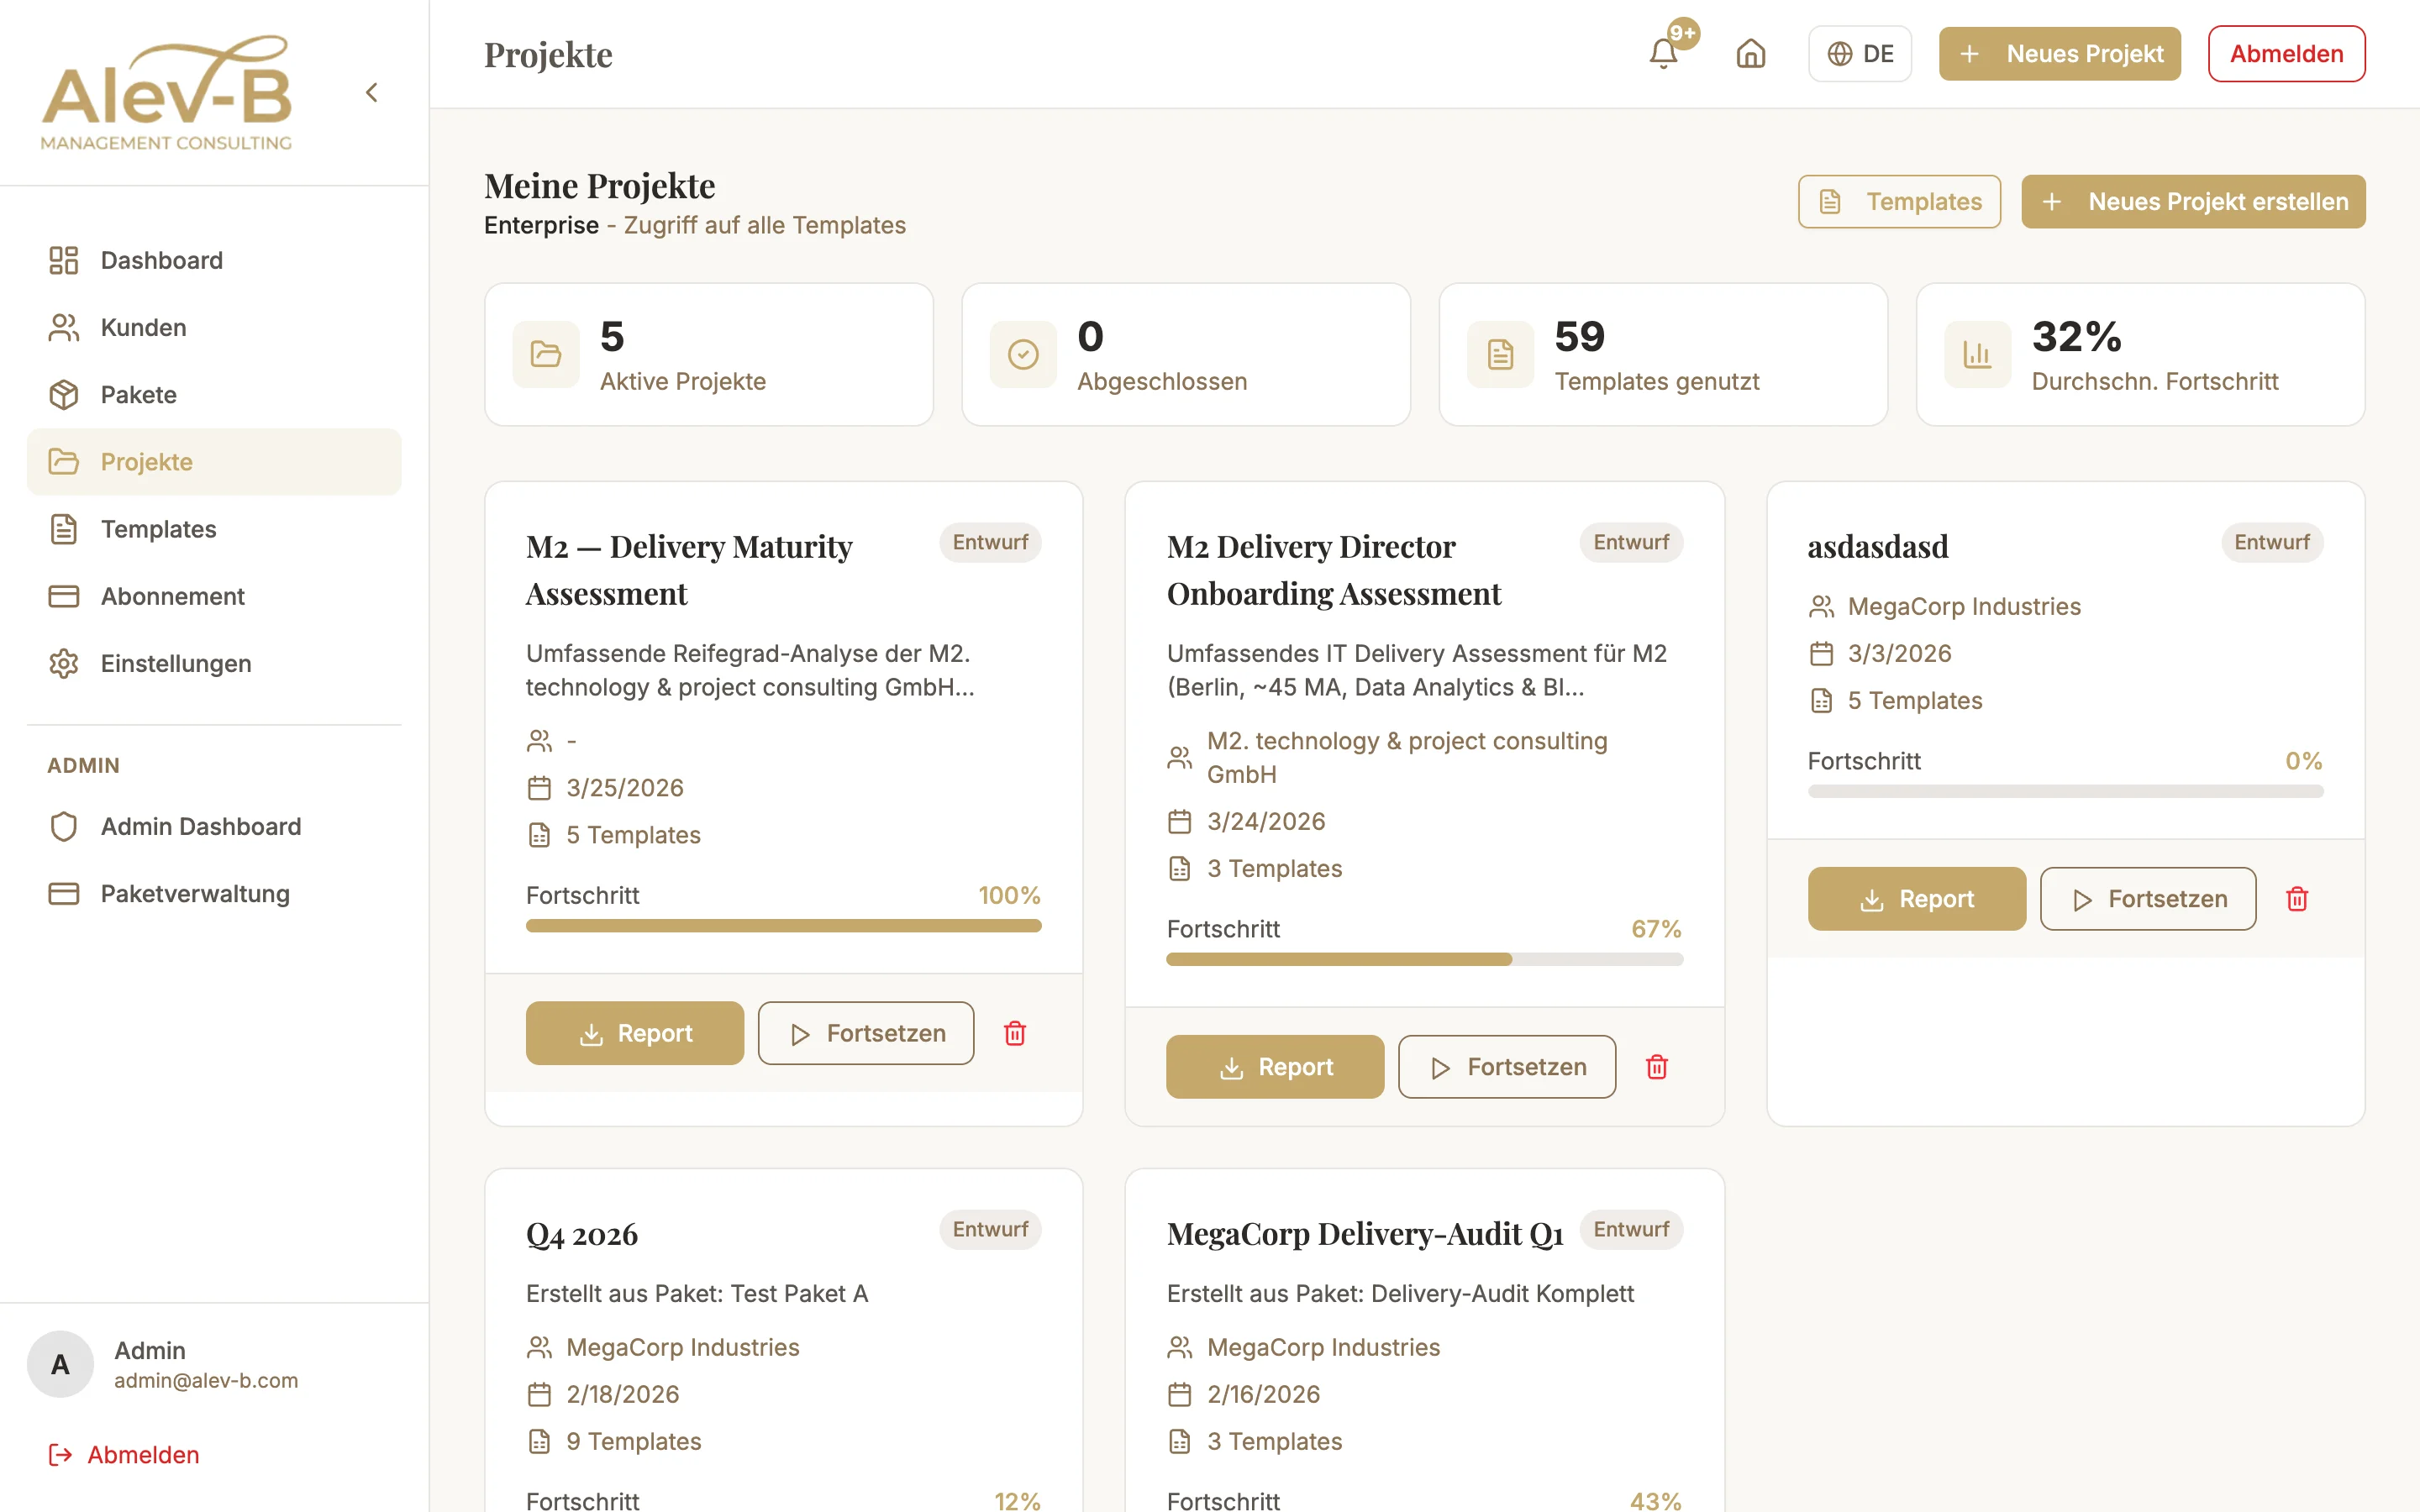
Projects in Alev-B bundle multiple assessments and templates into a single consulting engagement. Instead of managing individual assessments loosely side by side, a project gives you a clear structure: one client, one mandate, all relevant analyses at a glance — including total score, progress, and timeline.
Step by Step
Create a new project
Click "Projects" in the left sidebar. You see all existing projects. Click "New Project" in the top right. The project wizard opens.
Assign a client
Select the client for whom this project is being carried out from the dropdown. All previously created clients are available. If the client does not yet exist, you can create one directly from this dialog — the "Create new client" link opens the short form.
The client assignment is important for benchmark calculations and PDF branding. Without a client, the project is anonymous and uses global benchmark data.
Select project type
Select the project type that best matches your consulting engagement. Available types include:
- IT Delivery Audit — Assessment of delivery processes, quality, and efficiency
- AI Automation — Maturity analysis for AI and automation initiatives
- Digital Transformation — Digital maturity and transformation readiness
- Vendor Assessment — Evaluation of external service providers and vendors
- Custom — Free configuration for custom consulting engagements
The project type influences which templates are suggested as recommendations. The selection is not binding — you can add any templates at any time.
Add templates to the project
In the next step of the wizard, select the templates to include in this project. Based on the selected project type, matching templates are suggested — but you can also manually select from the entire library.
You do not need to add all templates immediately. Additional templates can be added at any time via the project details page.
Project Overview
After creation, you land on the project details page. It contains:
- Total Score — Average of all completed template scores in the project.
- Status — Open, In Progress, or Completed. Updated automatically.
- Timeline — Start date and optionally a planned end date. Useful for engagement documentation.
- Templates List — All assigned templates with individual score and completion status.
- Actions — PDF export for the entire project, add template, archive project.
Common Issues
Project score shows 0% even though assessments were completed
The project total score is calculated only from assessments that are fully completed and saved. Open the respective template in the project and make sure all required questions are answered and the assessment is marked as completed.
No client available in the dropdown
You need to create at least one client before you can assign one to a project. Use the "Create new client" link in the wizard, or first switch to the "Client Setup" guide.
A project that was created does not appear in the project list
Check whether a filter is active. The project list can be filtered by status (Open, In Progress, Archived). Archived projects are hidden by default — select "Show Archived" in the filter bar.
Next Steps
You have created your first project and know how to manage assessments in a structured way. We recommend the following next steps:
- Templates & Assessments — get to know all available templates
- Benchmarks — compare results with industry data
- AI Features — get the most out of AI recommendations